
One of the things that irritates me the most is when other people speak about “converting” files from a digital graphic into an embroidery file. It’s one of the most frequent utterances around me. The term “converting” suggests that creating an embroidery program from a picture is as simple as pushing a button. True professional Embroidery digitizing companies is not a one-click task and requires some experience and know-how to achieve a good digitized file for machine embroidery. While most embroidery digitizing software does allow you to auto digitize areas in your image, this is not the same thing as true professional embroidery digitizing.
The process of digitizing can be intimidating for many people because they lack technological expertise. If, on the other hand, you have a genuine interest in documenting, learning how to do so is not all that difficult. Exercising frequently is essential. You must be willing to develop embroidery designs, stitch them out, observe how your designs turn out, and then make any necessary adjustments to the designs. It is more of a process of trial and error, asking questions, and testing out your patterns through stitching them out.
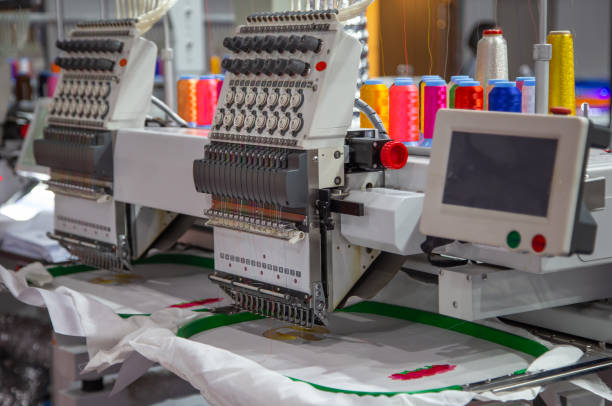
The Steps for Embroidery Digitizing
- Choose a piece of art.
- Resize and change the file type of your artwork.
- Pare down the palette’s hues.
- Assess the fabric kinds that will work best with this embroidery pattern.
- Plan for your stitching.
- Adjust for cloth pull.
- Put your needlework pattern to the test.
Choose a Piece of Art
The word “digitizing” gives the impression that the designer is drawing inspiration for her needlework pattern from some existing piece of artwork. When you are converting, on the other hand, you do not necessarily have to begin with the artwork. You can start from beginning when creating art in the software, and then save that work as a file that can be used for embroidery. The majority of the time, however, digitizers begin the creation process by selecting an existing piece of artwork to serve as a point of reference while they work.
Resize and Change the File Type of your Artwork
Formats for importing digital artwork vary based on the program being used to create the digital version. For instance, the Bernina Artiste software that I use does not support the importation of JPG images and instead favors the PNG and BMP formats. Therefore, for me to upload my files into the software, I need to convert them into one of these formats first.
Pare Down the Palette’s Hues
If you want to use any of the auto cheap digitizing companies that are included in the software, one of the steps that you need to take is to reduce the number of colors that are used in your design. When there are too many distinct colors in an image, the software is unable to identify any regions that are a single color due to the lack of contrast.
Assess the Fabric Kinds that will Work Best with this Embroidery Pattern
When you digitize an embroidery design, some of the settings you choose should be determined in part by the fabric that will be used to stitch out the pattern. For instance, if the design is going to be stitched onto a very absorbent fabric such as a towel, you might want to consider incorporating a knock down thread into your design.
Plan for your Stitching
You need to consider your concept before beginning the digitization process. What should be the first thing that your machine stitches? Consider which geometric forms belong in the foreground of the image and which belong in the background. Make sure you have this sequence planned out before you start.
Adjust for Cloth Pull
You will need to describe the kind of stitching and the angle that it is at for each individual part of your design. Each software package offers assistance for a wide variety of fill types. To become familiar with the appearance of the various fills, I made a few rectangles, each of which was given a different fill from the variety that was offered by the software that I use. My understanding of the appearance of each has been improved as a result.
Put your Needlework Pattern to the Test
The idea of marketing a design without first having it test stitched is inconceivable to me. When I am digitizing, I occasionally find a blunder that I have made, such as repeating a round of stitching that I have already done. When this occurs, I go back into the software and make the necessary adjustments. After that, I export the file in a few different formats and place it up for sale. Sometimes, after seeing the design stitched out, I get the impression that it would appear better if I adjusted some settings, so I go back into the software and make some modifications to it. It’s possible that I’ll even feel compelled to redo the test stitching on the pattern.
Conclusion
The use of embroidery digitization enables you to provide embroidery of the highest possible quality, which will appear precisely how the customers want their brand’s emblem to be portrayed on a variety of clothing items and accessories. The process of digitizing designs for embroidery makes it possible to create embroidery for boundless materials, which expands the pool of potential customers you can serve.