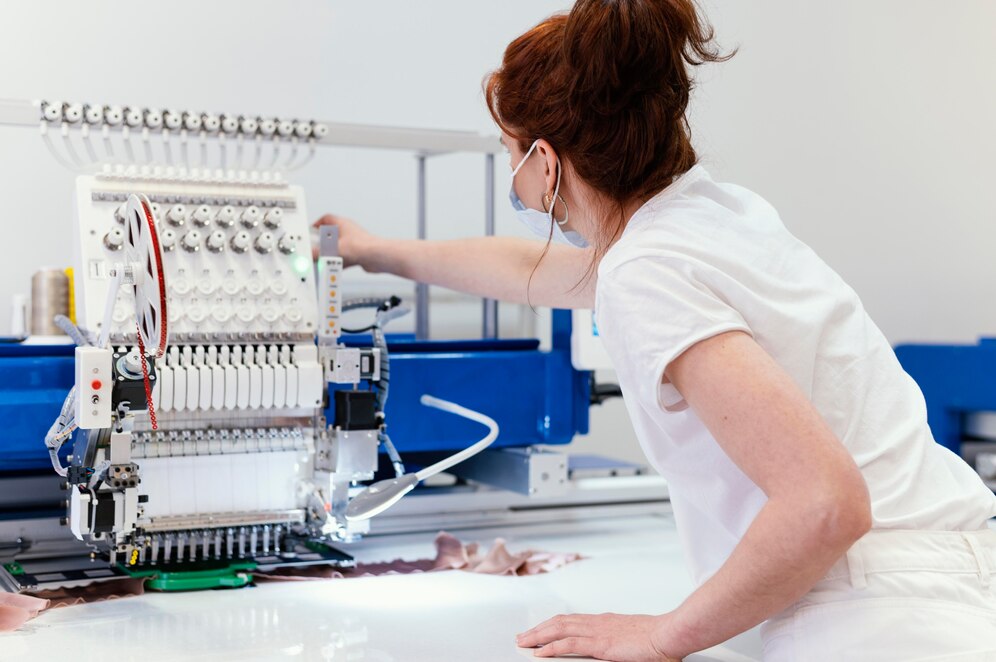
Embroidery Digitizing
Embroidery Digitizing means turning a piece of art into a digital file using special software that tells embroidery machines where to put the needle. Most embroidery machines come with their own software, which lets us control their features by following the instructions in a digital file. Because embroidery machines can’t read the same kinds of files that your computer can, you will need to digitize your company logo and save it in a format that the machines can read before they can do their job. USA best digitizing company focus on providing custom embroidery services for a wide variety of fabrics and designs, including brand logos.
Importance of Embroidery Digitizing
You can spread the word about your company’s logo, brand, and slogan by using digital embroidery patterns. It makes it easier to sell more at the market and helps you advertise better. With the help of an embroidery digitizer, you can easily add your company logo or other beautiful art to your product. This can be done with hats, shirts, purses, and other items. This can be done for items like hats, shirts, purses, and so on. The best digitizing companies in the USA are working on it and gaining much profit from it. Digitization has many benefits, such as making people more mobile, making it easier to make decisions, making information more secure, giving people faster access to information, making the customer experience better, increasing productivity, lowering operational costs, making it easier to make decisions, and making information more secure. Other benefits include automating business processes, being able to bounce back from disasters, and being flexible.
Guidelines for Embroidery Digitizing
Choose the materials for the embroidery design
When you digitize an embroidery design, you should base some of the choices you make on the fabric that will be used to stitch out the design. For example, if your design is going to be stitched onto a very absorbent fabric like a towel, you might want to include a knockdown stitch. If, on the other hand, you want to give the design a three-dimensional look by sewing it out with foam underneath, you will need to change some settings so that the stitching can fit the volume that is underneath.
Reduce the number of colors
If you want to use any of the software’s auto-digitizing tools, you need to cut down on the number of colors in your design. When there are too many different colors in an image, the software can’t tell which parts are all the same color because there isn’t enough contrast. This is especially true if you are trying to digitize a photorealistic image, which usually has millions of pixels with different colors. If you want the computer to be able to find sections of stitching in your photo, you will need to make the color palette less complicated.
Plan your stitch order
Before you start digitizing your design, you need to give it a lot of thought. Think about which geometric shapes should be in the front of the picture and which should be in the back. Make sure you know how these steps will go before you start. Next, think about how it would make the most sense to stitch the different parts of your design. You should try to finish stitching one form close to where you will start stitching another to reduce the number of jump stitches. When digitizing things, it’s sometimes possible to do it in such a way that you don’t need any jump stitches at all.
Select stitches and angles
For each part of your design, you will need to choose the type of stitching to use and the angle at which it will be placed. Each piece of software can handle a wide range of fill types. When you set up a filled area for stitching, you can choose to set the angle of the stitch. If all the parts of your design are stitched at the same angle, your design will look very flat, and the fabric will pull in that direction because of the embroidery. I make it a point to use different stitch angles for the different parts of an embroidered design.
Adjust coverage as needed
Underlay stitching and pull compensation are two important options that need your attention while you are digitizing. Both of these settings need your full attention. Underlay stitching is the first layer of stitching that your machine does when you are making an embroidery pattern. It serves two purposes: first, it keeps your cloth in place, and second, it adds another layer of coverage. Pull compensation is a setting that can be used to make a filled area of embroidery go out just a little bit further than it would normally. When working with large areas of needlework, the stitches tend to move away from the edges of the shape in a direction that is opposite to the direction of the stitches.
Test your embroidered design
You can’t sell a design without first having it stitched to see if it works. There are sometimes mistakes made during the digitization process, like when a round of stitching is done twice. If this happens, you’ll have to go back to the software and make the necessary changes before you can export the file in different formats and sell it.

