Custom Digitilizing
A piece of embroidery that is produced by employing a fabric background and thread in order to create a design that is exclusive to the individual who will be wearing it is known as a custom patch. Embroidery patches are a common alternative name for custom patches. Custom digitilizing is popular among many different types of groups, including the military, emergency and rescue agencies, adventure clubs, and many more. Numerous organizations, such as the military, emergency and rescue agencies, adventure clubs, and a great deal more of these and other types of organizations, wear embroidered patches that have been designed specifically for them. The manufacturing of embroidered patches is a time-honored technique that was initially carried out by hand. Patches can be seen on clothing, bags, and accessories, it can produce patterns, badges, and customized logos to be printed on children’s clothes and uniforms, and bespoke patches can also be used in these capacities., it can generate patterns, badges, and customized logos to be printed on children’s clothing and uniforms.
How Do Individual Patches Operate?
Make a Pattern for Embroidering
Request that your graphic designer create a unique design for your custom digitilizing, or you could just use the logo of your firm. Make sure that, when you are planning out your design, you take into consideration the maximum number of needles that your embroidery machine can handle as well as the number of different colors that you intend to use.
Save Your Custom Design or Logo
Your embroidery program should allow you to save your file in a format that can be read by your embroidery machine. For instance, a Barudan machine needs a file with the extension ‘DSB,’ whereas a Tajima machine needs a file with the extension ‘DST.’ Also, ensure that you have a backup file ready in the event that the design is lost; otherwise, all of the hard work that you have put into the design could be wasted.
Send the Design to the Embroiderer
It’s a breeze to accomplish this on your own, and you may transfer files quickly and easily via a USB cable, flash card, or straight from the computer on which the software is installed.
Specify the Design Details to the Embroidery Machine
Before it can get the thread going, your embroidery machine requires some instructions. This may sound backwards given that instructing a robot may sound counterintuitive. Within the embroidery software, you will need to make selections for the appropriate needles, threads, and orientation to utilize. In most cases, each of the needles will be numbered, and a thread of a different color will be strung through each needle. Because embroidery can only be done with one needle at a time using one color, it is necessary to plan out the stitching sequence.
The fabric is first stretched over frames or loops and then placed into the arms of the embroidery machine before the stitching process begins. It is important that the fabric be stretched tightly over these frames and then fastened to the machine. It’s not the embroidery heads or needles that move while the machine stitches; rather, it’s this portion of the machine that moves back and forth as it works.
Now We Can Start Sewing
Align Your Wares
This is the enjoyable part of it. After ensuring that your products are in the correct position and that your machine is properly programmed, we will start the machine and let it to continue operating until your embroidery design is finished. Embroidery machines can contain anywhere from 1 to 38 embroidery heads, and each embroidery head can have up to 15 needles. The number of embroidery heads can range anywhere from 1 to 38. It’s time to keep an eye on how your machines are doing!
Equipment and Materials for Embroidering
Now that you have a concept of how the embroidery process works, let’s have a look at what equipment and supplies you would need to start your own commercial embroidery operation. If you want to embroider a lot of things, you’ll need a lot of supplies.
Commercial Embroidery Machine
This piece of machinery is the highlight of the exhibition. There is a wide range of sizes available for embroidery machines. Embroidery machines can have up to 38 heads, each of which can hold up to 15 needles. These machines are typically used in larger commercial embroidery operations.
Hoops or Frames
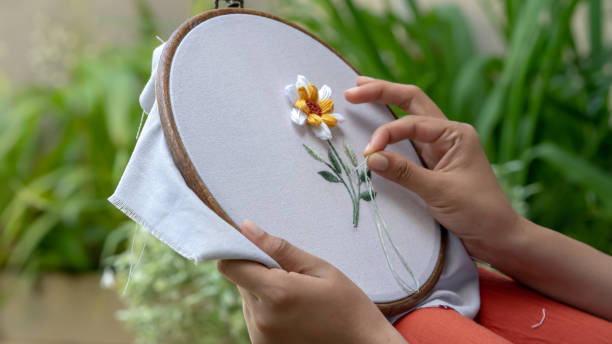
Before you arrange the fabric on the embroidery machine, you will stretch it over this so that it is held in place as you position it. During the actual embroidery process, these are moved by the machine, which ultimately results in the creation of your pattern.
Threads
You will need to have access to a wide variety of thread colors and types. Your work’s success or failure may depend on its threads. You need to decide what kind of thread you’re going to use based on the pattern that you have in your head for this project.
Computer and Design Software
Before you can transfer your custom logo or design to your embroidery machine, you need a computer and design software to create a mockup of it first on your computer. At this point, your design is complete and ready to be sent to an embroidery machine.

